
The Detailing Process
An educational overview of how a comprehensive vehicle detail is approached, step by step.
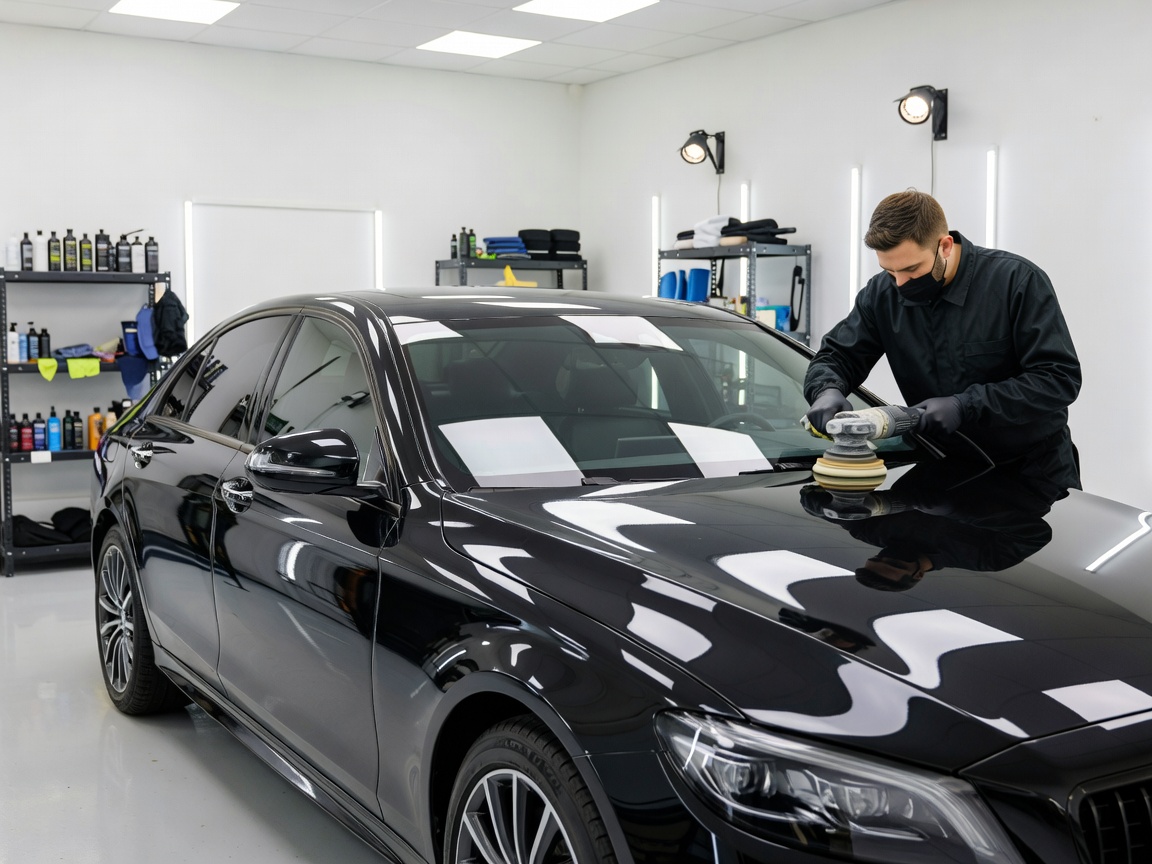
Detailing goes beyond a standard valet. It involves the careful restoration and protection of surfaces. We focus on transparency—detailing may improve appearance significantly, but perfection is rarely achievable due to age, use, and paint limitations.
1. Inspection & Preparation
Every detailing job should start with a visual inspection under proper lighting. This identifies existing defects, failing clear coat, or areas requiring cautious handling. Preparation sets the baseline for the entire process.
2. Safe Washing & Decontamination
Following a meticulous safe wash, the paint must be decontaminated. Even after washing, paint can feel rough due to embedded iron fallout (from brakes and railways) and tar spots. Chemical fallout removers and physical clay bars are used to leave the surface perfectly smooth.
3. Paint Assessment
Once clean and bare, the clear coat depth is assessed. Understanding how much clear coat is available dictates how aggressive any polishing stages can safely be. Thin or damaged paint requires an adjusted, conservative approach.
4. Polishing Options
Machine polishing (often referred to as paint enhancement or correction) aims to gently level the clear coat, reducing the visibility of swirl marks and light scratches.
- Single-stage: Can help restore gloss and remove light defects.
- Multi-stage: A heavier cutting stage followed by a refining polish for deeper marks.
Note: We do not guarantee a "showroom finish" as results vary entirely depending on the initial vehicle condition and clear coat hardness.
5. Protection & Maintenance Guidance
After polishing, bare paint must be protected using waxes, sealants, or ceramic coatings. The final step is always discussing maintenance advice to ensure the owner knows how to safely wash the vehicle moving forward.